Create a Trail
Add a new trail to your trail list and map, including its status, difficulty, activities, and geometry.
Add a new trail to your trail list and map.
#Steps
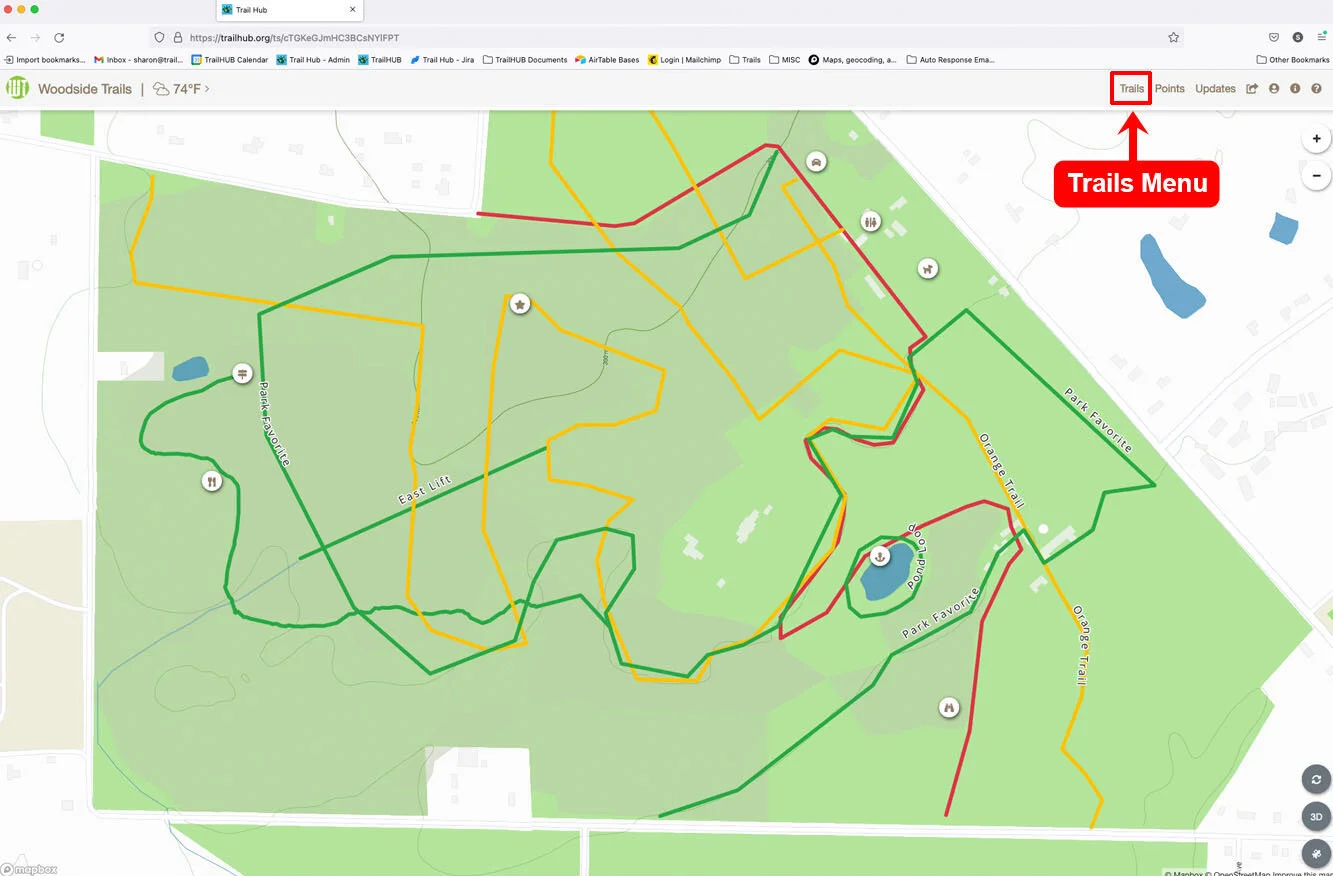
Click Trails in the top navigation bar.
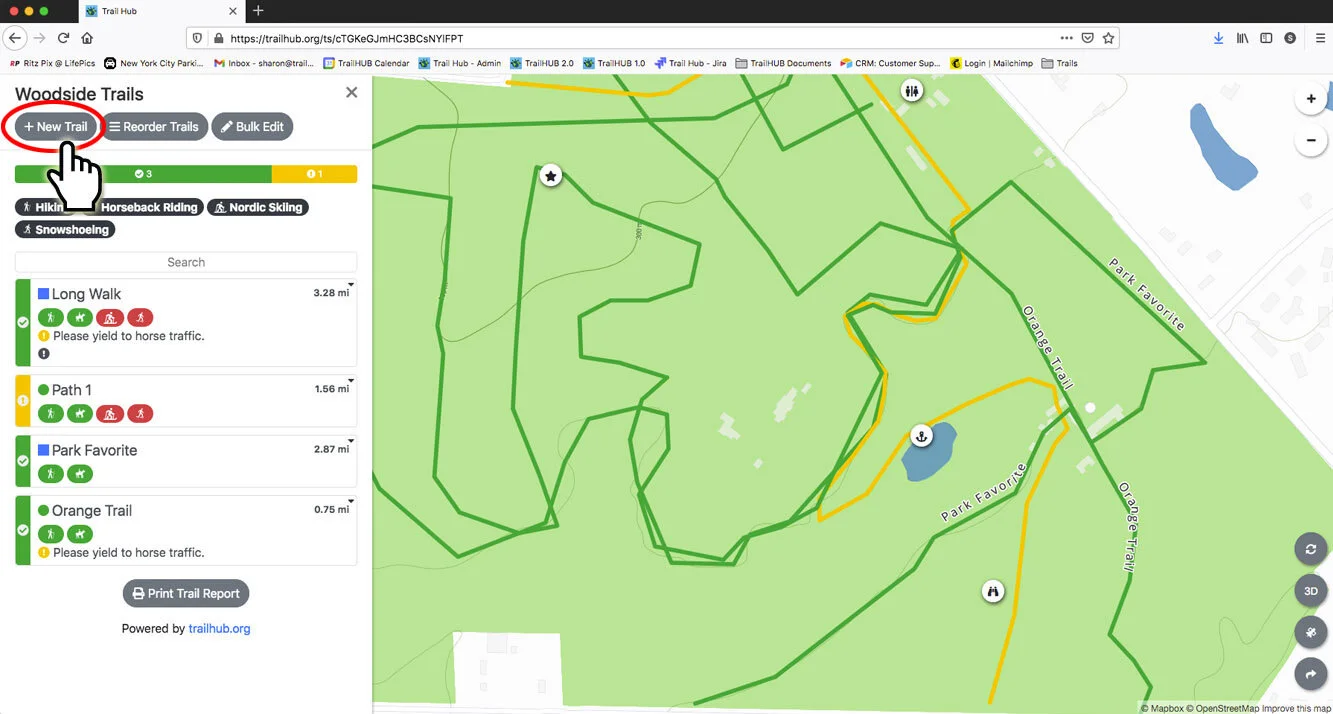
Click New Trail.
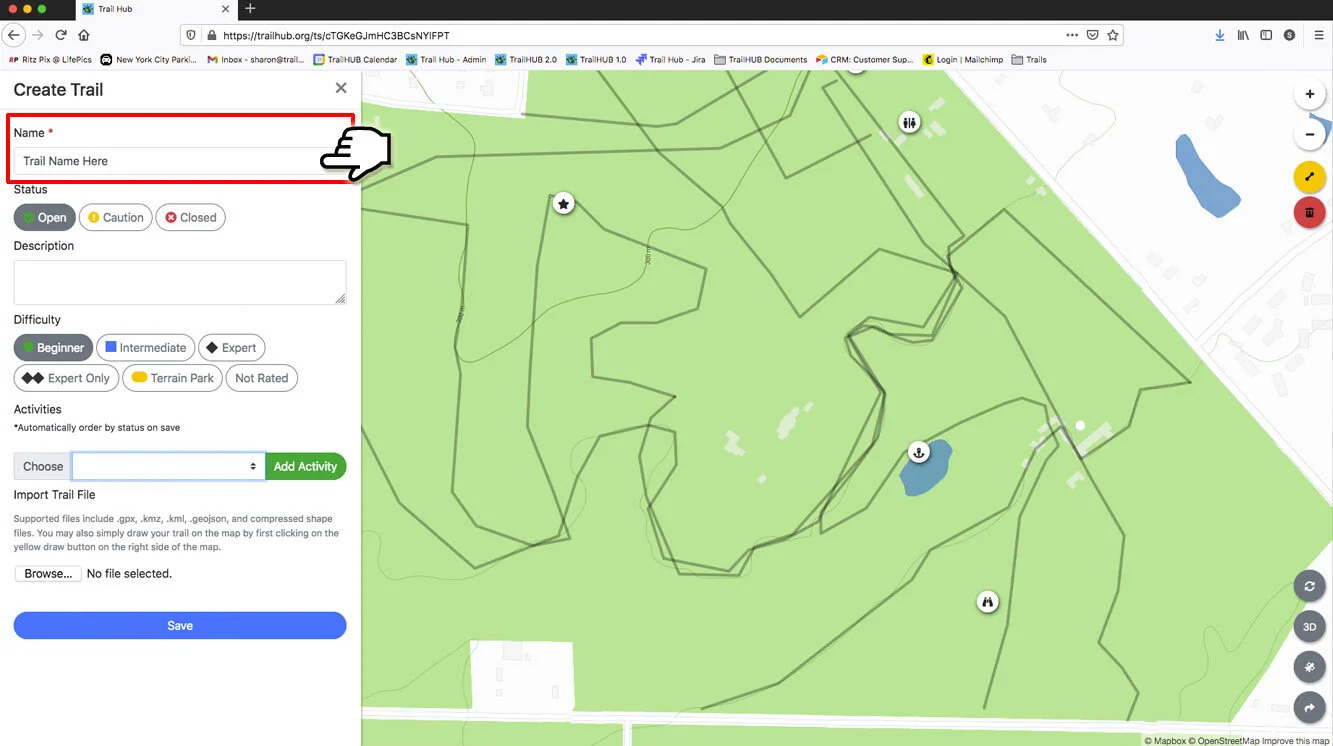
Enter a Name (required).
Choose a Type: Standard or Lift. Lifts skip the difficulty and activity fields and draw as a dashed line on the map. See Lifts and wait times.
Choose the overall trail Status: Open, Caution, Closed, or None. With None, the trail's status is inferred from its activity statuses. See Trail statuses explained.
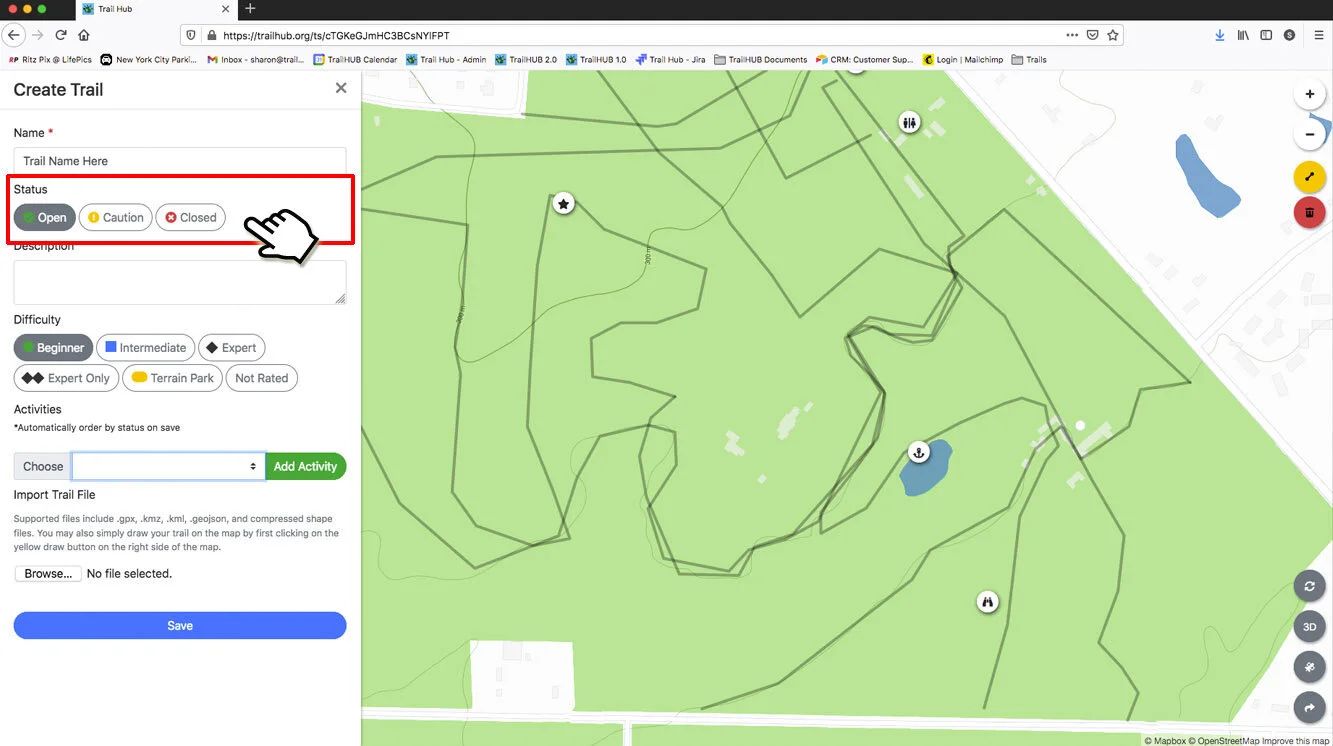
Write a Description (optional).
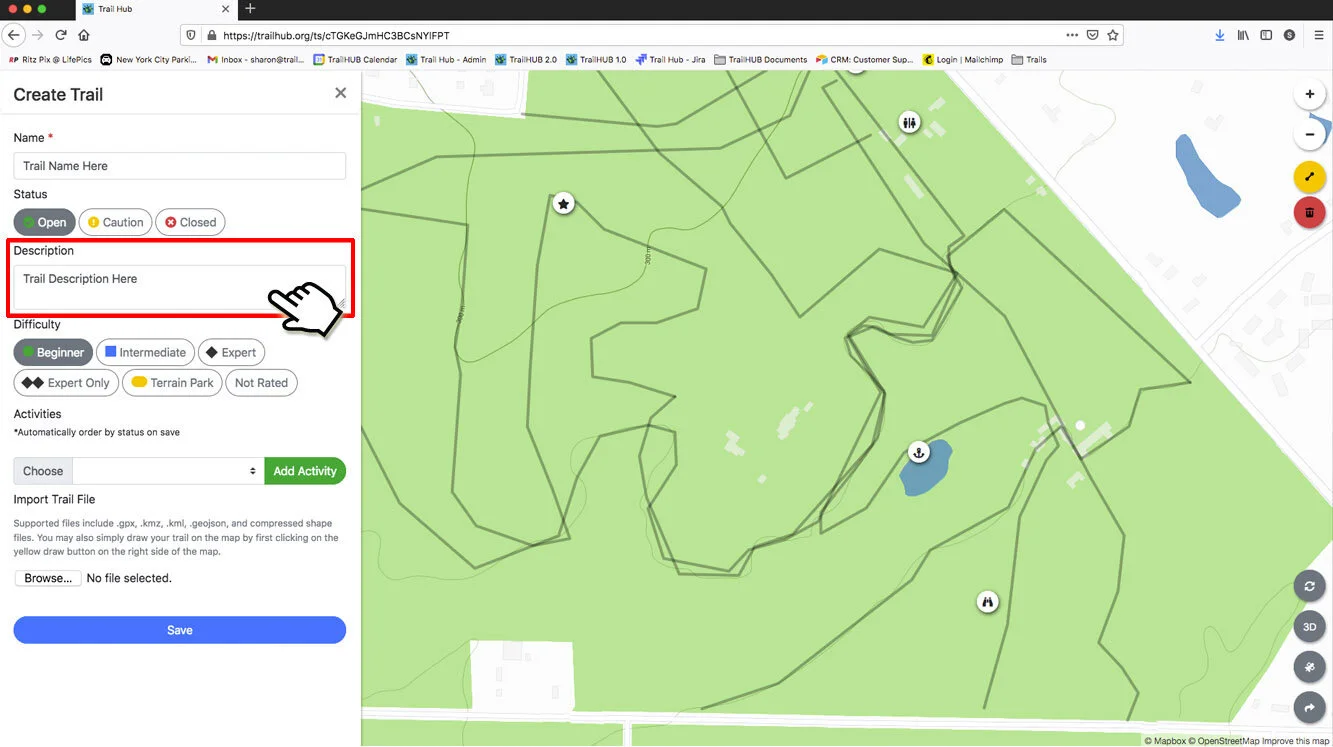
If your trail system has categories, pick any that apply under Categories.
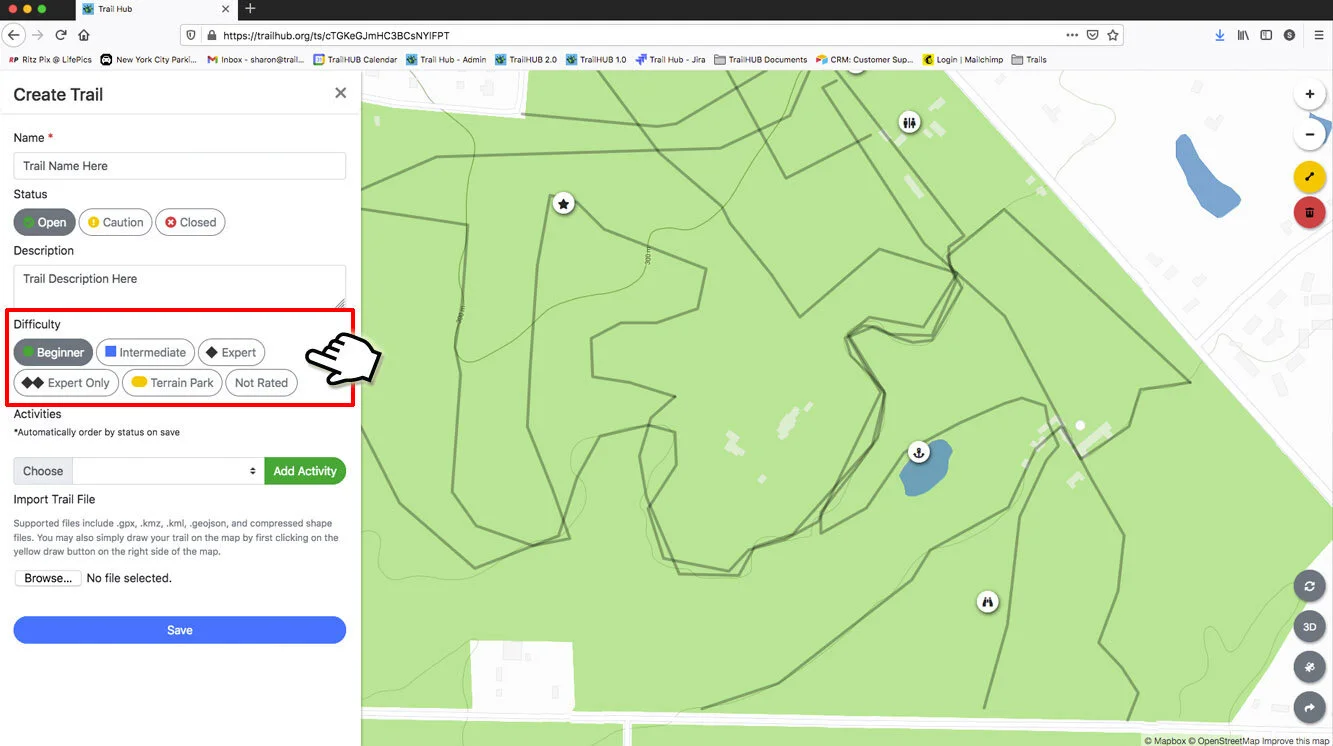
Choose a Difficulty: Beginner, Intermediate, Expert, Expert Only, Terrain Park, or Not Rated.
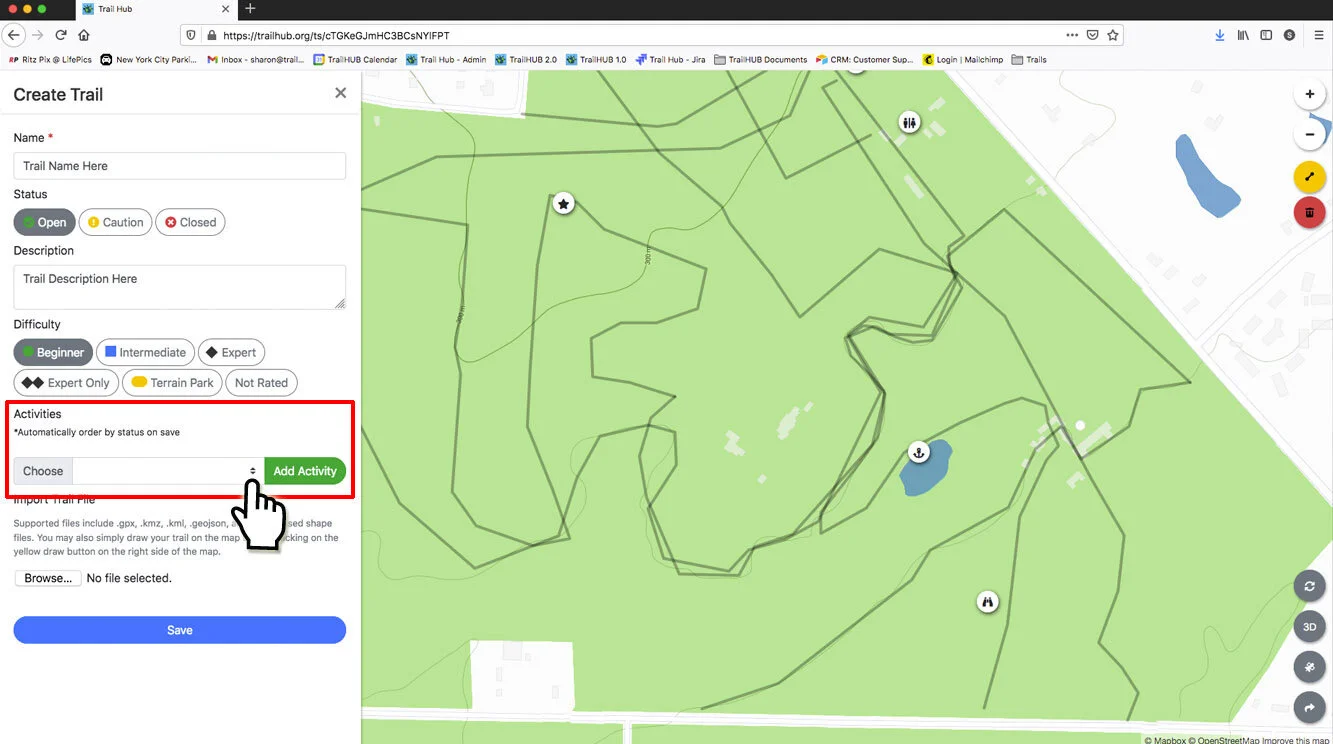
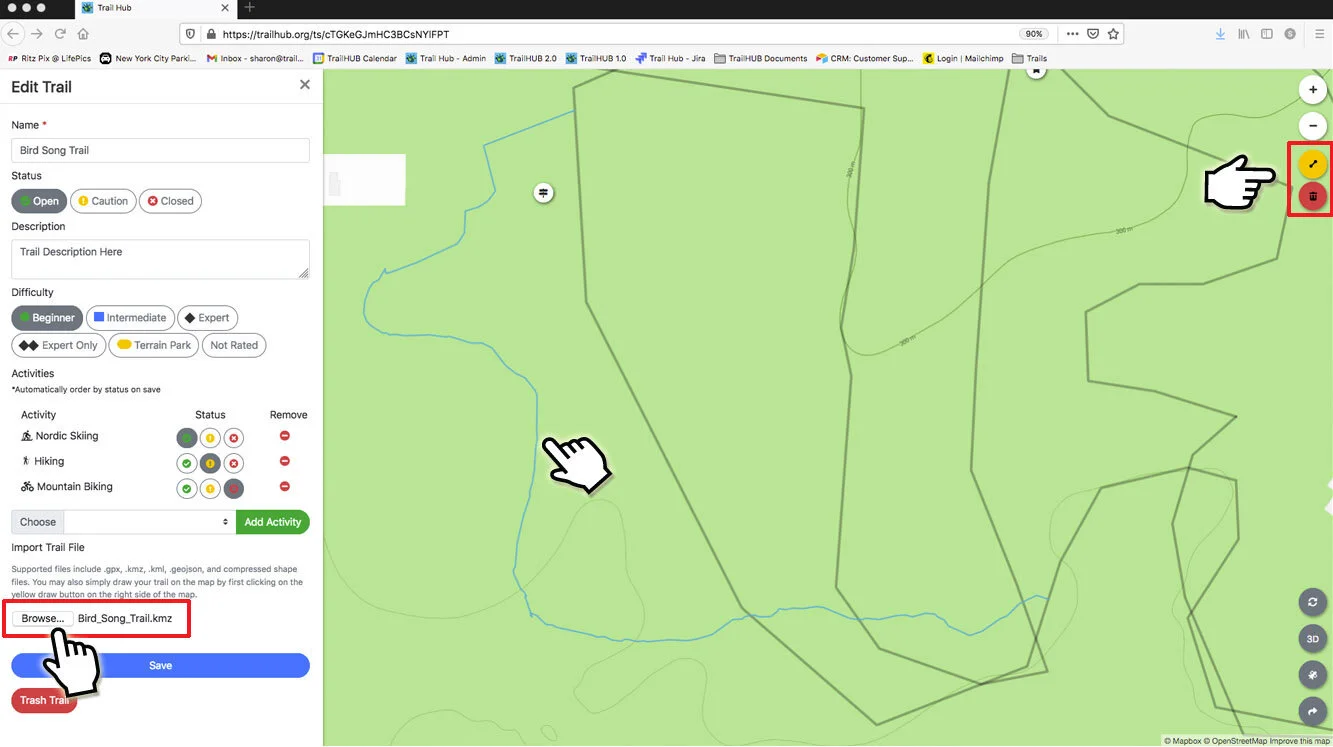
Add Activities. Choose an activity from the dropdown and click Add activity, then set that activity's status (Open, Caution, or Closed) and, optionally, its own difficulty. Repeat for each activity the trail supports. Click the red minus icon to remove an activity.
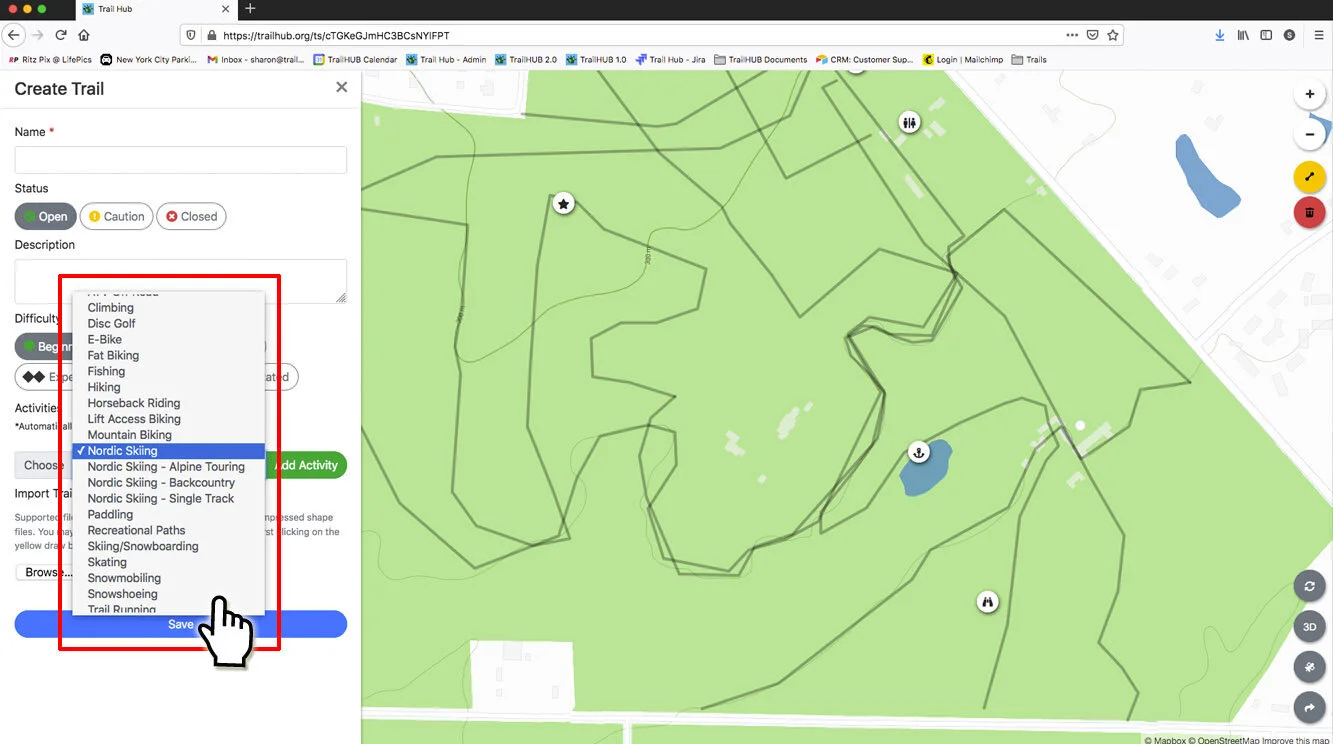
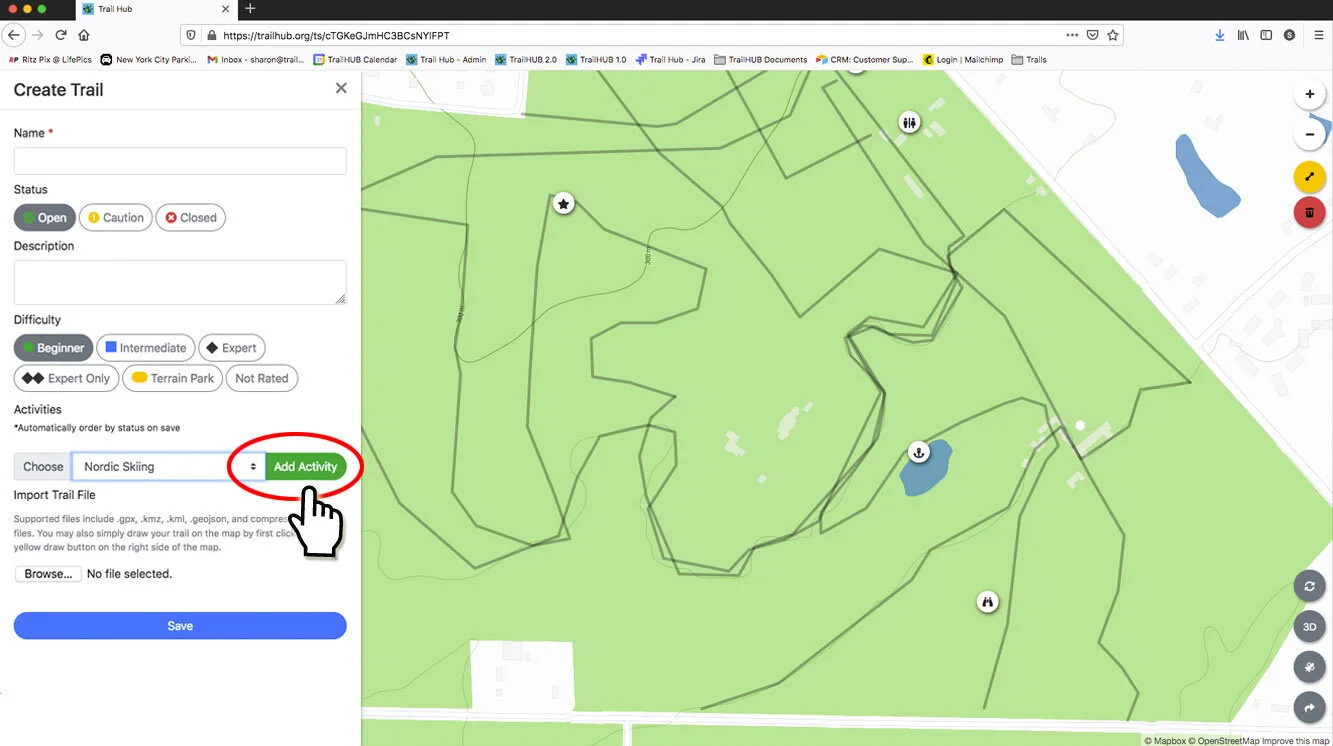
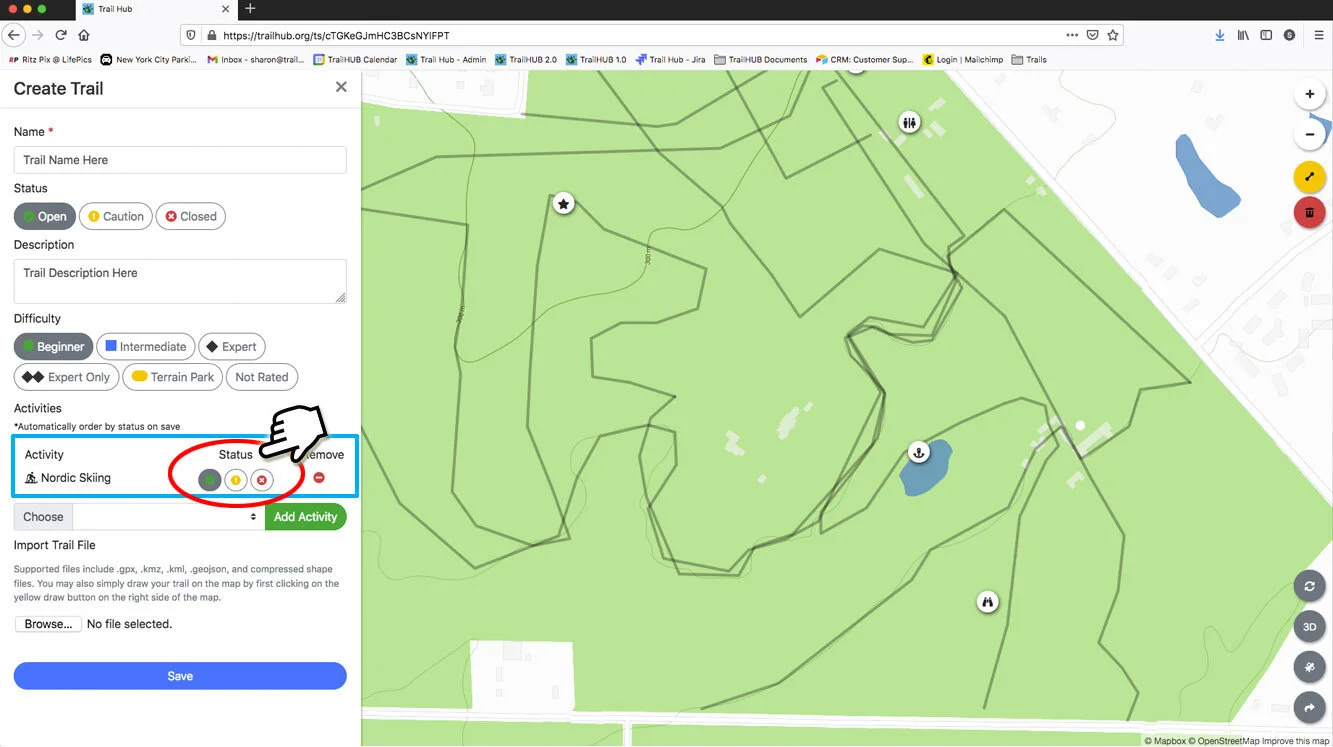
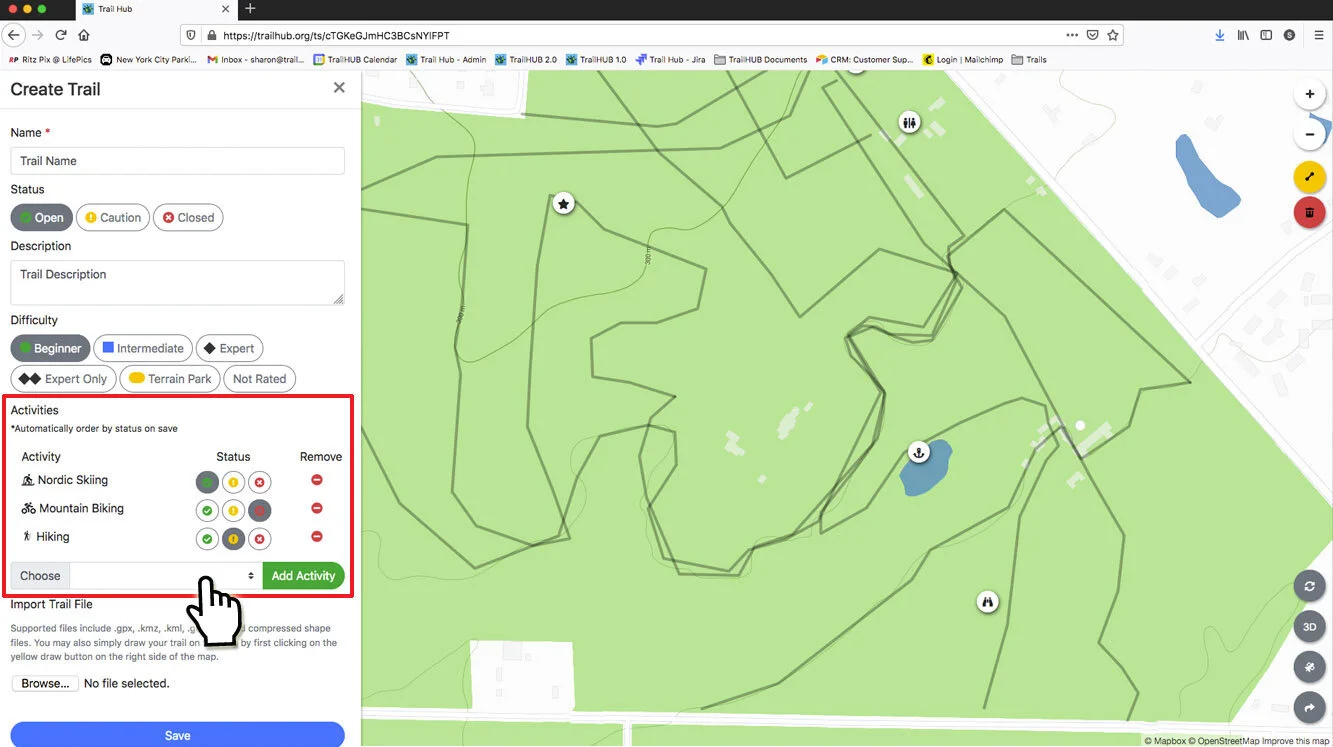
Map the trail. Either click Choose File under Import Trail File to upload a trail file, or draw the trail on the map with the line tool on the right side of the map. A trail's distance and elevation profile only appear once it is mapped.
Choose a Line Style (Solid or Dashed), and switch on One Way if the trail is directional. If the arrows point the wrong way, also switch on Reverse Direction.
Switch on Trail Hidden if you want to keep the trail out of public view while you work on it.
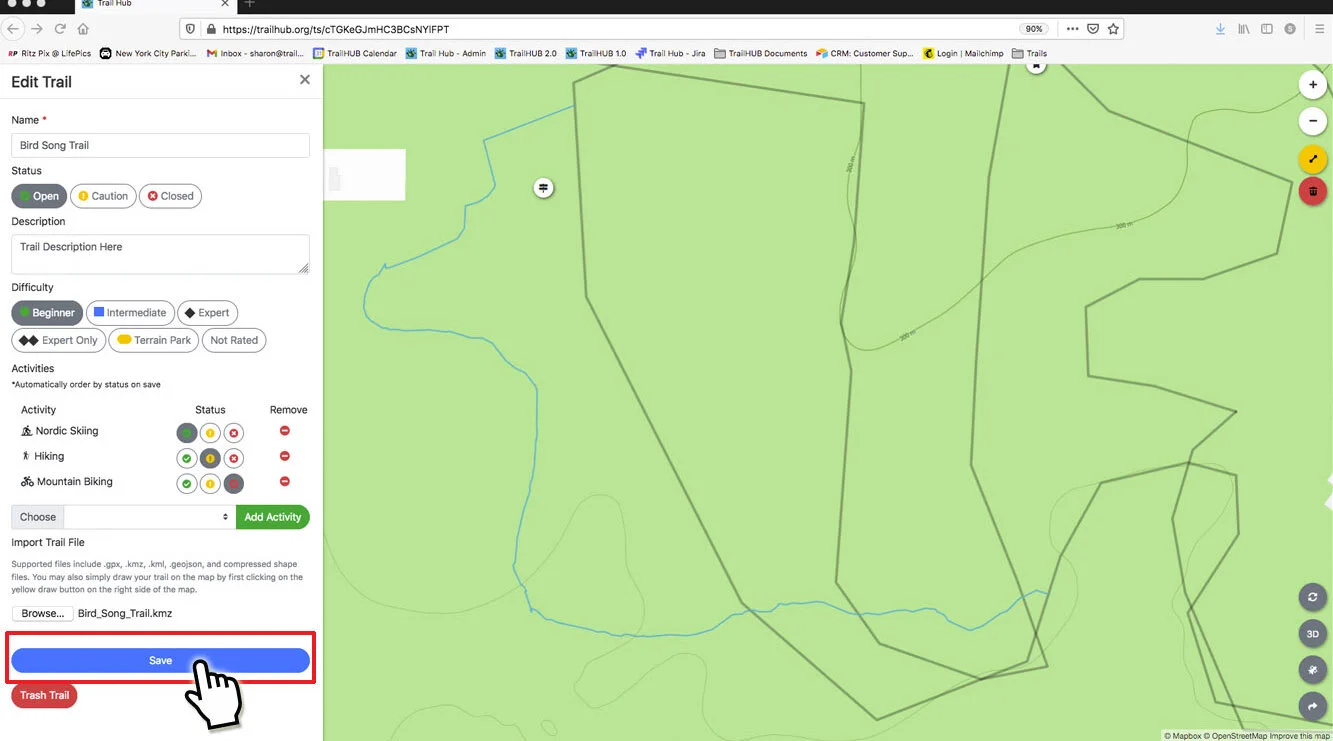
Click Save.
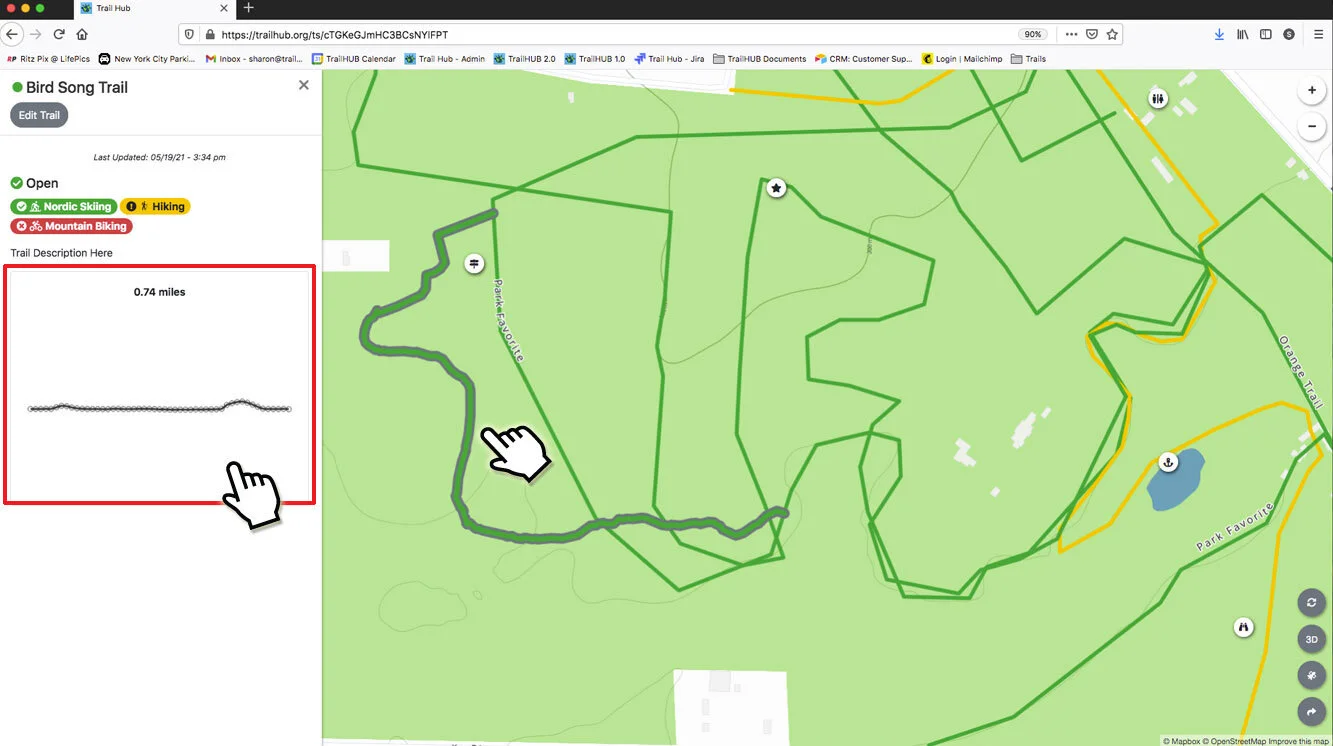
The new trail appears in your trail list and, if it was mapped, on the map. Its distance shows on the trail card and in the detail drawer, and an elevation profile is generated shortly after the first save.
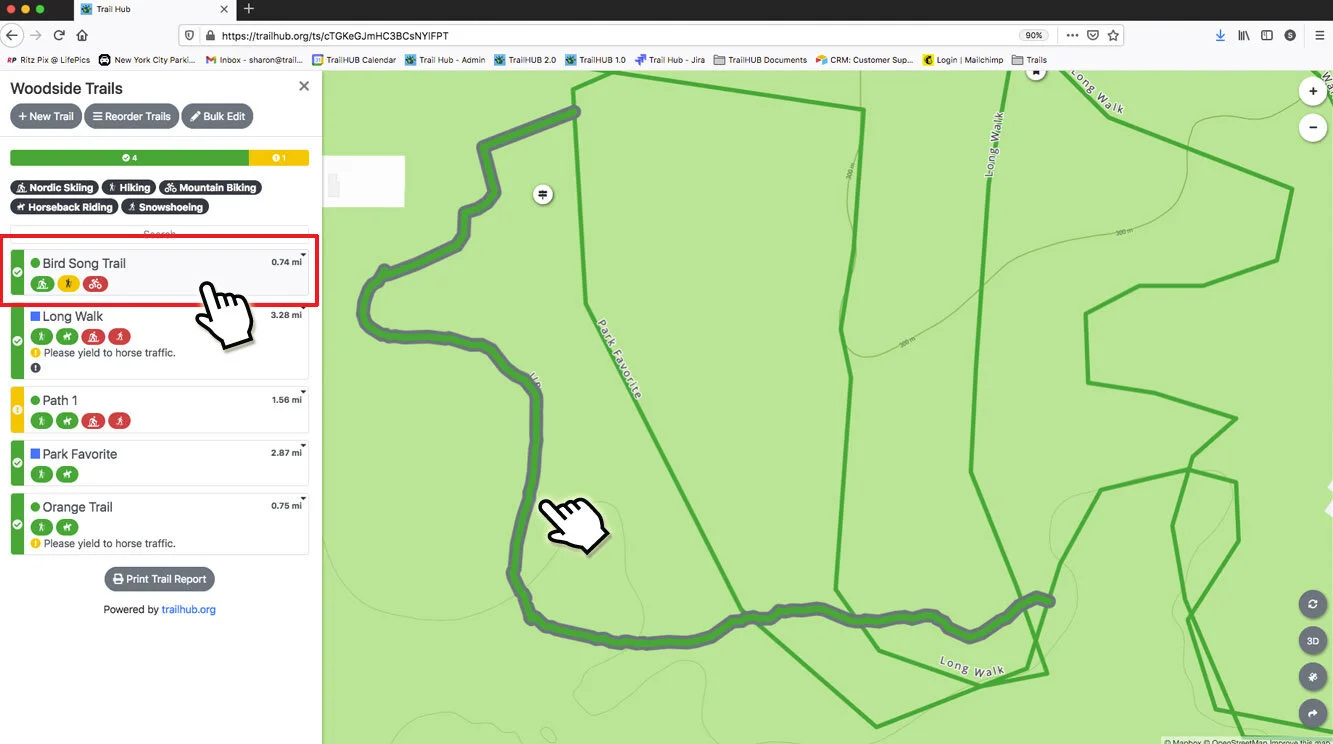
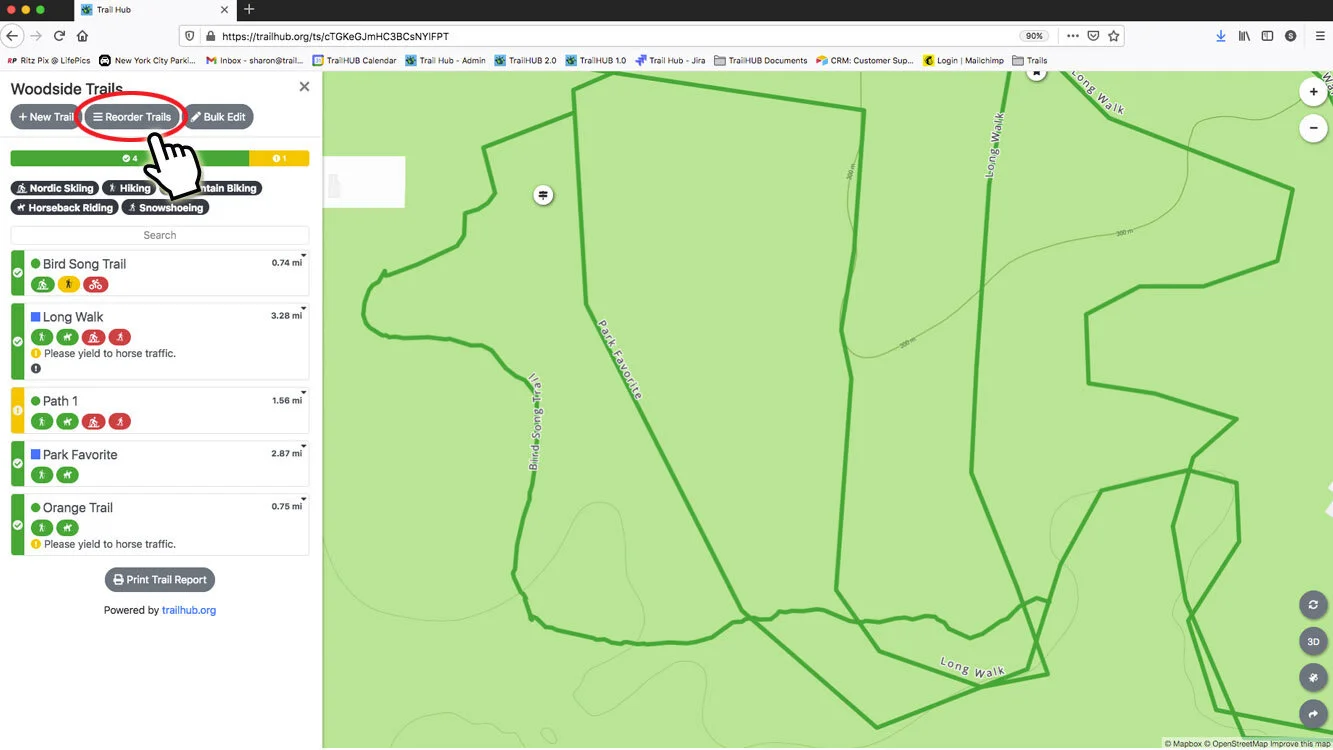
New trails are added to the top of the list. To change the order, see Reorder the trail list.